February 15, 2022 / Lily Collins
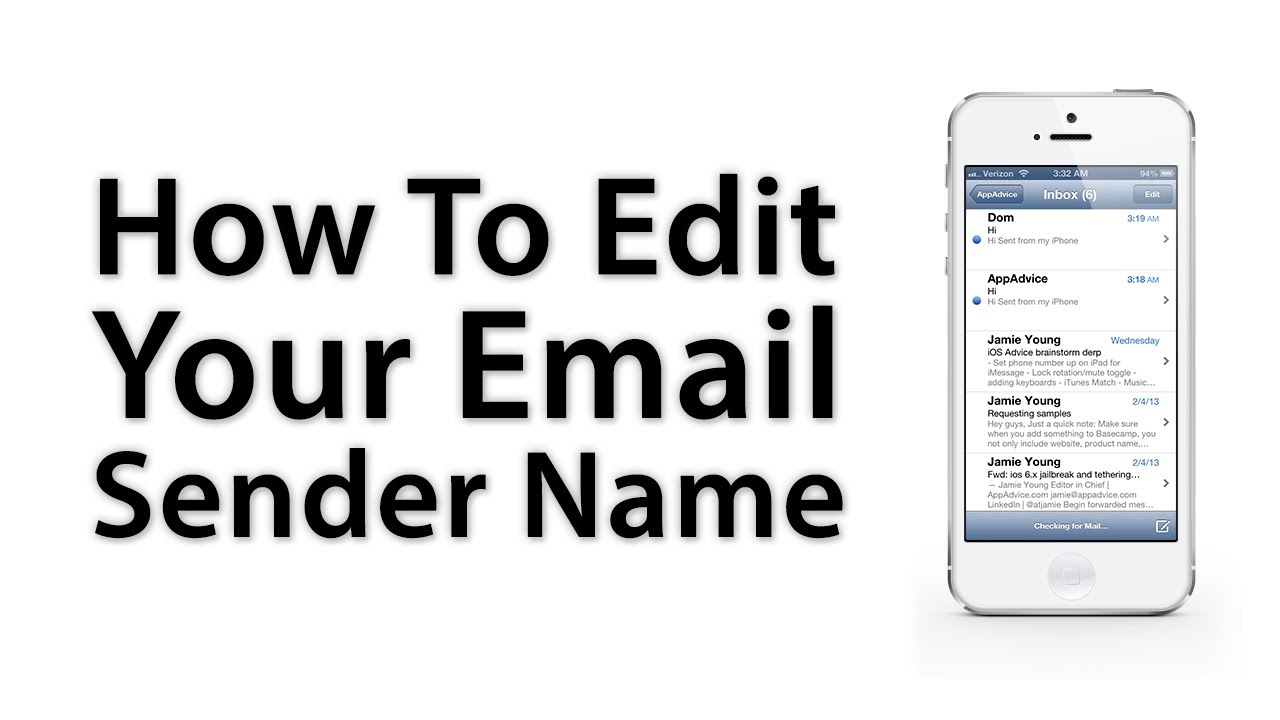
How Do I Change The Sender Name On My iPhone Email?
If you have configured your iPhone Mail application with multiple email accounts, you may find yourself in a situation where you would want to change the sender name on your iPhone email. While the process to change the sender name is a simple process, some users may find the process troublesome. If you are also looking to change the sender name on your iPhone email, you can do it easily by following the information provided below.
Table of Contents
Guide to Change the Sender Name on Your iPhone Email
METHOD 1
NOTE: To follow the instructions provided below, you will need to have at least two email accounts configured in the Mail application of your iPhone.
- On your iPhone, tap on the Mail application from the applications menu.
- Once the app gets opened on your iPhone, you will need to compose a new email.
- In the email composition screen, you will need to tap on the From field (for example, [email protected]). Doing so will open a drop-down menu on your screen.
- From the drop-down menu, you will need to select the email address using which you wish to send the email.
- Selecting the email address will display it in the From field. Confirm the action if prompted to do so.
- After that, enter the email address of the recipient in the To field and enter the message you wish to send. Then, tap on the Send option to send the email to the recipient from your selected email address.
METHOD 2
NOTE:
- In case you have already sent an email to someone from your account, you may not be able to change the way it presents your name. This is generally because the mail application might be having your identity saved in the contact, and may refer to it whenever receiving emails from you.
- Also, it should be noticed that when a recipient will click on your name located at the top of the email, they will still be able to see the email address from you which you would have sent the email.
For iPhone or iPad
- From the application menu of your iPhone, tap on the Settings option. This will direct you to the Settings section of your iPhone.
- Once you are in the Settings section, you will need to tap on the Accounts & Password option.
- In the Accounts & Password section of your iPhone, you will need to select the one which you wish to change.
- Next, tap on the Account section located at the top of the page.
- Then, you will need to enter the desired sender name in the Name field.
- Once you are done entering the new name in the Name field, tap on the Done button.
- Now, whenever you will send an email, it will display your new name for the new contacts.
For macOS
As iCloud accounts have a few different steps for Hotmail and Gmail, there are numerous ways to change your name in Apple Mail on macOS.
iCloud
- Open the Apple Mail program on your Mac and go to the menu located in the upper-left corner of the screen.
- Next, click on the Mail option and select the Preferences option.
- In the Preferences section, you will need to select the iCloud account from the list displayed on the left-hand side.
- Then, you will need to make sure that the Account Information option is selected in the main window.
- Click on the drop-down menu in the Email Address section and select the Edit Email Addresses option.
- Doing so will automatically open a web browser on your system and direct you to iCloud.com. You will need to sign in to your iCloud account
- As you will log into your account, you will see the Account settings section on your screen.
- Now, in the Full Name field, you will need to clear the current name and replace it with the one you wish to display to the recipient.
- Once you have changed the name, you will need to click on the Done button.
Gmail, Hotmail, and Other Accounts
- Start by opening the Mail application on your system.
- Next, you will need to go to the Mail option and select the Preferences option.
- In the Preferences section, you will need to select the account you wish to change.
- Then, go to the Account Information tab and select the Email Address option.
- After that, you will need to double click on the text next to the Full Name option and clear the current name. Enter the new name that you wish to display to the recipient.
- After you have entered the new name in the provided field, click on the OK button to save the changes.
So, these are the different ways that can help you change the sender’s name on your iPhone and other iOS devices.

Leave a Reply