February 15, 2022 / Lily Collins
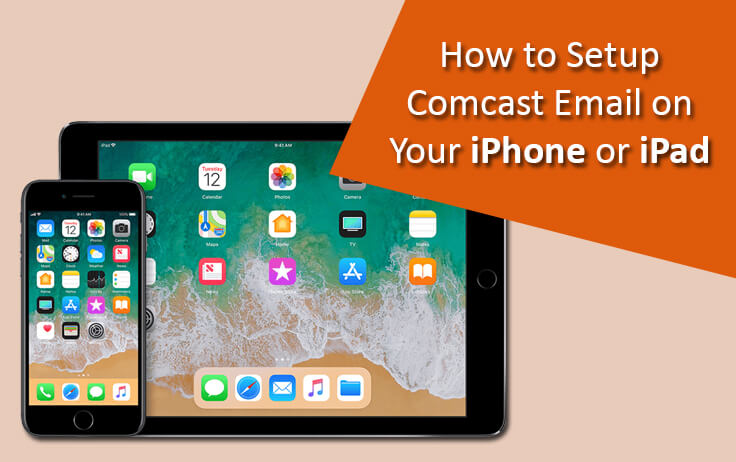
Step-by-Step Methods to Setup Comcast Email on iPad
“Since my job demands me to travel most of the time, it becomes difficult to find a place where I can open my Comcast email to check messages and reply to clients. Can’t I simply access it on my iPad? I carry one!” – asked us a user. The straight answer to this is ‘YES’ you can access your emails and send/ receive them whenever and wherever you like. If you, too, wish to set up Comcast email iPad, here’s our step-by-step guide.
Instead of reaching out to your laptop in public places, you can simply reply to your colleagues with a few simple taps. Below, we have furnished the step-by-step methods to configure Comcast email on the iPad.
Table of Contents
Step-by-Step Guide to Setup Comcast Email on iPad
To configure Comcast email on the iPad is hassle-free. You just need to know all the essential details and information ready beforehand. Let’s check the steps out –
- Select the ‘Mail’ client on your Apple device
- This will take you to the ‘Welcome to Mail’ screen where you need to choose ‘Other’ (you will see some options like Google, Exchange, iCloud, AOL, and Yahoo).
- Next, email address and password and then tap ‘Next’.
- Once the credentials are verified, the setup process will be completed successfully.
After the successful configuration of Comcast email on iPad, you can access all your emails.
|
Note: The above-mentioned steps are also applicable to other Apple devices including the iPhone. |
How to Switch Comcast Email from POP to IMAP on iPad?
Also known as the Xfinity Connect, Comcast email has become one of the most popular email service providers in America. Most iPad users prefer accessing their Comcast emails on their smart devices. If you, too, want to access Comcast email on iPad, check out the above-mentioned steps to complete the setup process.
Below, we will tell you the tips to configure your Comcast email on your iPad from POP to IMAP.
Pre-Setup Tips –
Those who have already set up their Xfinity email accounts via POP will be able to configure Comcast email on the iPad from POP to IMAP. Also, before getting started, you need to ensure that the ‘Delete from server’ option should be set to ‘Never’. This option is available in the ‘Account Settings’ menu under the ‘Incoming Settings’ option.
Let’s learn the steps to switch from POP to IMAP
- Tap the ‘Add Mail Account’ option and then enter the account details in the pop-up window.
- Tap ‘Next’
- You will have to then enable ‘Mail’ and ‘Notes’ (This will show in the next pop-up window – labeled IMAP).
- Tap the ‘Save’ button.
How to Move Emails from POP to IMAP Profile?
Don’t want the emails to be deleted during the process? If yes, you must select the emails in various folders, such as ‘Sent Items’, ‘Inbox’, and ‘Trash’ on the POP account. You need to drag and drop them to the newly set up IMAP account. You may also like to store these emails in the external folder.
If you want to delete the POP profile, you can do that only after all the emails have been shifted to the IMAP folder.
Hope this guide helps you configure Comcast email on iPad and shift emails from POP to IMAP. Try and follow these steps meticulously for the desired results. If failed, you can get in touch with the professionals.
Leave a Reply