February 15, 2022 / Lily Collins
How to Set up Cox Email on iPad (iOS)?
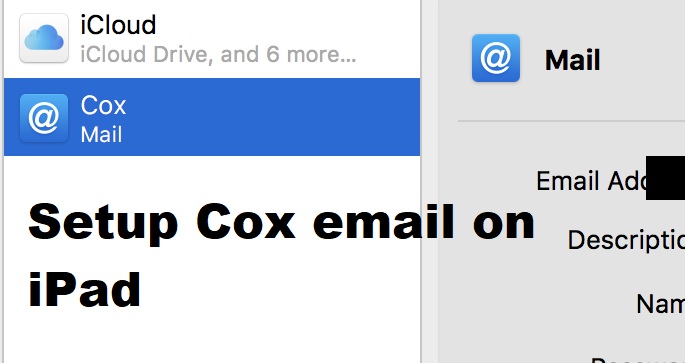
Are you looking for methods or ways to set up Cox email on the iPad? If so, you need to follow these steps to add your Cox email account on your iOS device.
Set up Cox Email on iPad to Send/ Receive Emails on Your iOS Device
iPad users can set up an email account and access emails without a hassle. If you own an iOS device and are looking for ways to add your email account, we will walk you through the following steps.
- Unlock your iPad. On the Home screen, tap the “Settings” button.
- Now, tap the “Passwords & Accounts” option (on the ‘Settings’ screen).
- You will see “Add Account”.
- Tap it and then tap “Other”.
- You will have to now press the “Add Mail Account” button.
- You will have the “New Account” screen where the following information needs to be entered.
- Your Full Name
- Your Cox email password
- Cox Email Password
- Description
- After entering the above information, tap “Next”.
- Then, tap “Save”.
Email Server Setting for Mail on iPad
- Go to the “Settings” app on your iPad device.
- Tap “Passwords & Accounts” (scroll down to find this option).
- Here, you will need to select your Cox email account.
- Tap on it and tap the “Account” field.
- Touch the “Advanced” option and enter the following information under the “Incoming Mail Server” section.
- “Use SSL” – This option should be enabled.
- In the field “Server Port”, you need to update the following port number (IMAP or POP – based on what you use).
- Now, tap the “Account” option.
- You need to tap SMTP under the section “Outgoing Mail Server”.
- Tap “smtp.coxmail.com” under “Primary Server”.
- Now, enter the following details under the section “Outgoing Mail Server” –
- Make sure you have enabled the “Use SSL” option.
- In the field “Server Port”, delete 25 andenter 465 (You can try 587instead if sending errors occur.)
- Tap the “Done” button.
- You need to tap the “Account” option and then touch the “Done’ button.
Follow the above-mentioned steps meticulously to set up Cox Email on iPad and start sending/ receiving emails.
If you use other iOS devices except for the iPad, these steps will still make an impact. All you need to do is to stick to these rules and complete the configuration process.
Although the iOS device has its own amazing features that allow users to enjoy or access them comfortably, you can use the Cox email on your Android device. Here are a few handful of steps to help you set up an Android device easily. You must know that your Android device can be set up in two easy methods – Auto-Configuration Steps and Manual Steps. Let’s take a look –
- Auto-Configuration Steps:This ultimate guide will help you set up your phone to receive and send Cox Email using POP email server settings.
- Unlock your Android device and tap the “Application” button. (From the ‘Home’ screen)
- Now, you will see the “Email” icon. Just tap on it.
- Enter your complete Cox Email Address and Password if this is the first time you are configuring your email address on your phone.
- Tap “Next”.
Note: You can simply tap the “Menu” button and then press the “Add Account” option if you have already added or configured an email account.
- Next, provide your account name and your name.
- Tap the “Done” option.
2) Manual Steps:If you use IMAP, you can do that by following the below-mentioned steps. You should go for the manual option and carry out IMAP settings if the auto-setup process failed to pick the correct settings.
- Unlock your Android device and tap the “Application” button. (From the ‘Home’ screen)
- Now, you will see the “Email” icon. Just tap on it.
- Enter your complete Cox Email Address and Password if this is the first time you are configuring your email address on your phone.
Note: You can simply tap the “Menu” button and then press the “Add Account” option if you have already added or configured an email account.
- In the Incoming Mail Server, enter –
Username: Cox email username
Password: Password
Incoming Server:
- Tap the “Next” button and enter the Outgoing Mail Server details.
- Tap “Next” and then tap “Finish”.
Leave a Reply