February 15, 2022 / Lily Collins
3 Methods to Fix Automatic Windows 10 Mail Sync Problems
When your Windows 10 Mail is not syncing, the following steps will resolve all Windows 10 Mail sync problems.
- You need to ensure Windows 10 is updated. To check whether it is up to date, go to “Start” and click on “Settings”.
- From there, navigate to “Update & Security” > “Check for Updates”.
- In the Mail app, click on the button “Sync” (at the top of your message). (This will force the app to sync).
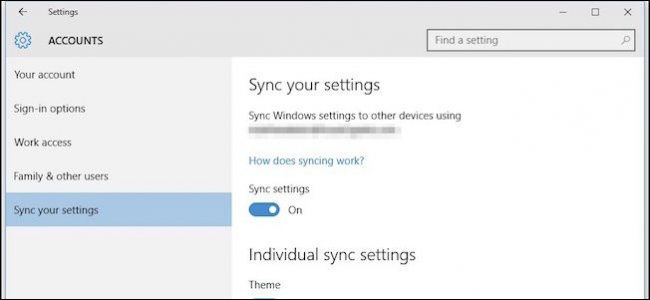
- You will then have to customize the sync settings by clicking on “Settings” > “Manage Accounts”.
- Here, you will select the desired account, and click on the “Change mailbox sync settings”.
Let’s go in detail and check the below-mentioned methods to get rid of any kind of Windows 10 Mail sync problems.
Table of Contents
3 Professional Methods to Fix Windows 10 Mail Sync Problems
When Windows 10 Mail doesn’t sync automatically and fails to fetch new emails, we recommend trying out some methods recommended by the industry experts. Let’s take a look at them –
1) Make Sure Windows 10 Mail App Is Updated:
Those who are still using the updated version of the Windows Mail app will likely to encounter certain syncing errors. Users who have reported this issue also believe that just updating the Mail app fixes the problem. And to do that, you need to visit the Microsoft Store.
- Go to the “Start” menu and click on the “Taskbar” icon.
- Search for “Store” and you will have “Microsoft Store”.
- Open it and go to the Menu icon (located top-right corner).
- Select the “Downloads and Updates” section, look for “Mail and Calendar”, and click on the same.
- The update will begin. Once it is complete, ensure the installation starts automatically. If it doesn’t, click on the “Get” button.
- Once updated, you need to close the “Store”.
- Reboot the system. This should fix the syncing problem.
Try method 2 if the first method didn’t work.
2) Modify Settings:
You should get on to the second method only when the first method failed to get a resolution. Many experienced professionals believe that this syncing error could relate to settings, not an application. They have advocated the following steps –
- Go to the “Start” menu, click on the “Taskbar” icon, and open the Windows Mail app.
- From here, look for the “Accounts” option (in the left pane).
- Choose the email (not syncing automatically or refusing to sync) and click on “Account Settings”.
- Next, click on Change Mailbox Sync Settings.
- Set the drop-down menu to “Ever 15 minutes” (under “Download new mail”). (Don’t set ‘Manually’ or ‘Based on my usage’)
- You may change the drop-down menu linked with Download email from to any time.
- Go to “Sync Options”, enable the toggle linked with your Email, and click on “Done”.
- Reboot your system to see improvements.
Head on to the next method if that didn’t bring any good results.
3) Reset Firewall and Network Protection Settings:
To reset the firewall and network protection settings, here’s what you need to do –
- Press the Windows Key + R to get the “Run” box.
- Type “ms-settings:windowsdefender” and press the “Enter” button. This will open the tab “Windows Security”.
- Next, you need to click on the option “Open Windows Defender Security Center” (inside the tab “Windows Security”).
- It will prompt you to open “Firewall & Network Protection” inside Windows Defender Security Center. Now, scroll down for “Restore firewalls to default”.
- Click “Restore Defaults”. (This will confirm the action.)
Restart your computer.

Leave a Reply